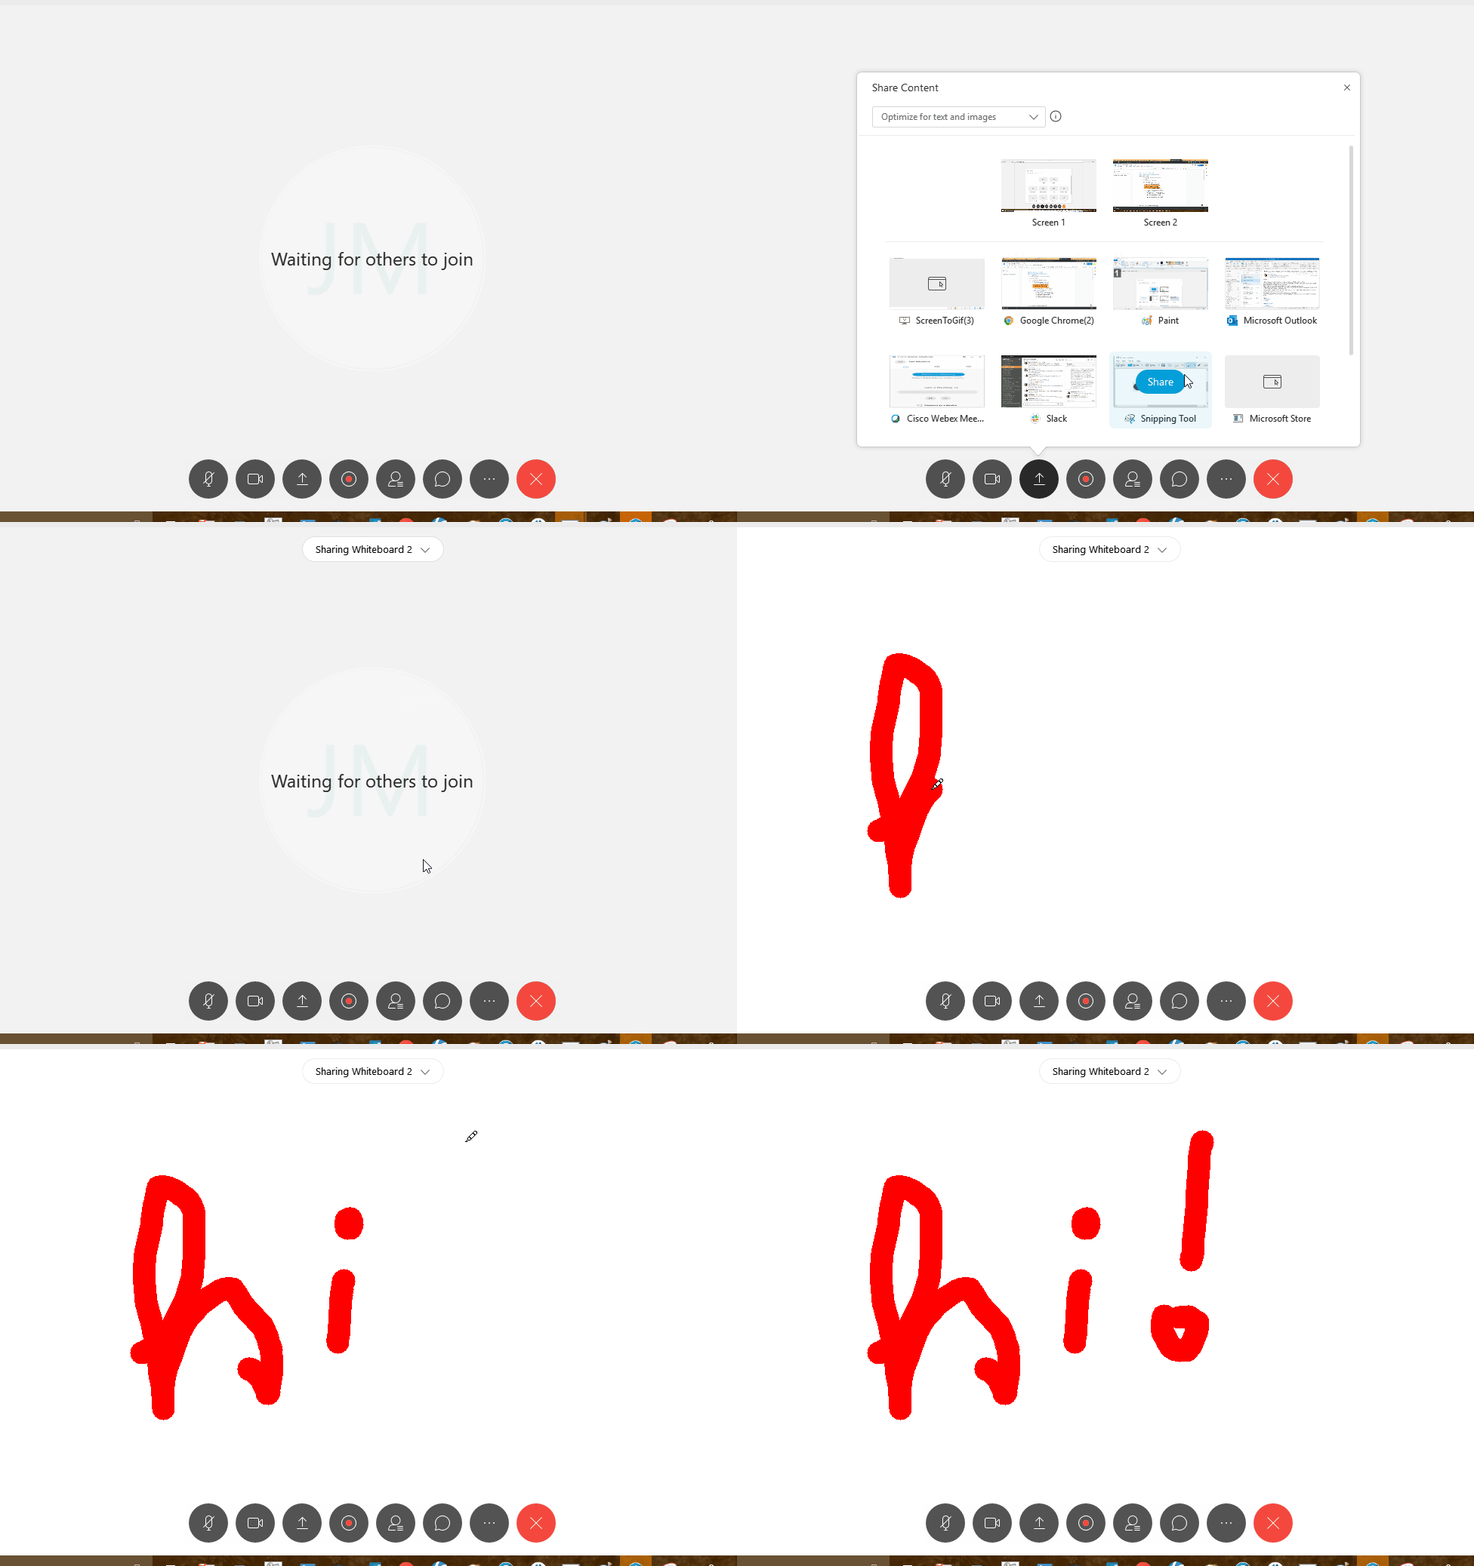
- During a Webex Meeting, click anywhere in your meeting window to bring up the Settings Icon Bar. (As seen in the .gif above.)
- Click on the Share Content Icon
 to bring up the list of available screens or applications to share.
 - Scroll down to use see the New Whiteboard option, hover over the choice and click the blue Share Icon
 that appears over the preview window.
- If you would like to annotate on a document or photo, you can also select Share File in the Share Content menu and can upload one from your device to use.
On the left side of the window, you'll see multiple options to use with the Whiteboard.
|
|
Allow Annotation allows the host to set which users can annotate on the screen at a given time. |
|
|
Arrow Pointer allows participants to mark any area on the whiteboard with their name to point out any areas of interest. |
|
|
Text Tool allows participants to create text boxes to type in different points. |
|
|
Line allows users to create lines. You can click on the right arrow next to the icon to find more options to use. |
|
|
Draw Shape Tool allows participants to draw shapes with the assistance of the program. You can click on the right arrow next to the icon to find more options to use. |
|
|
Pen/Pencil Tool allows you to freely draw or annotate with the use of a mouse or trackpad. |
|
|
Annotation Color allows you to change the color that you are currently annotating in. You can click on the right arrow next to the icon to find more options to use. |
|
|
Eraser allows you to clear your annotations. You can click on the right arrow next to the icon to find choose to erase all annotations or only your annotations. |
|
|
Save allows you to save the open Whiteboard to your computer. |


Comments
0 comments
Please sign in to leave a comment.